
Survival First Aid Kit Mistakes (+ What to Pack Instead)
Think your first aid kit is good enough to get you through a real emergency? Think again.
Most pre-packed kits are made for soccer fields and scraped knees, not for grid-down disasters, roadside emergencies, or backwoods injuries. I’ve reviewed dozens of kits, built my own, and still find that most people make the same critical mistakes when it comes to packing a true survival first aid kit.
As a Canadian urban homesteader focused on practical preparedness, I’ve learned the hard way what actually matters in a medical emergency — and what’s just taking up space.
This post highlights the most common survival first aid kit mistakes (yes, even well-meaning ones), and what to pack instead so you’re actually ready when it counts.
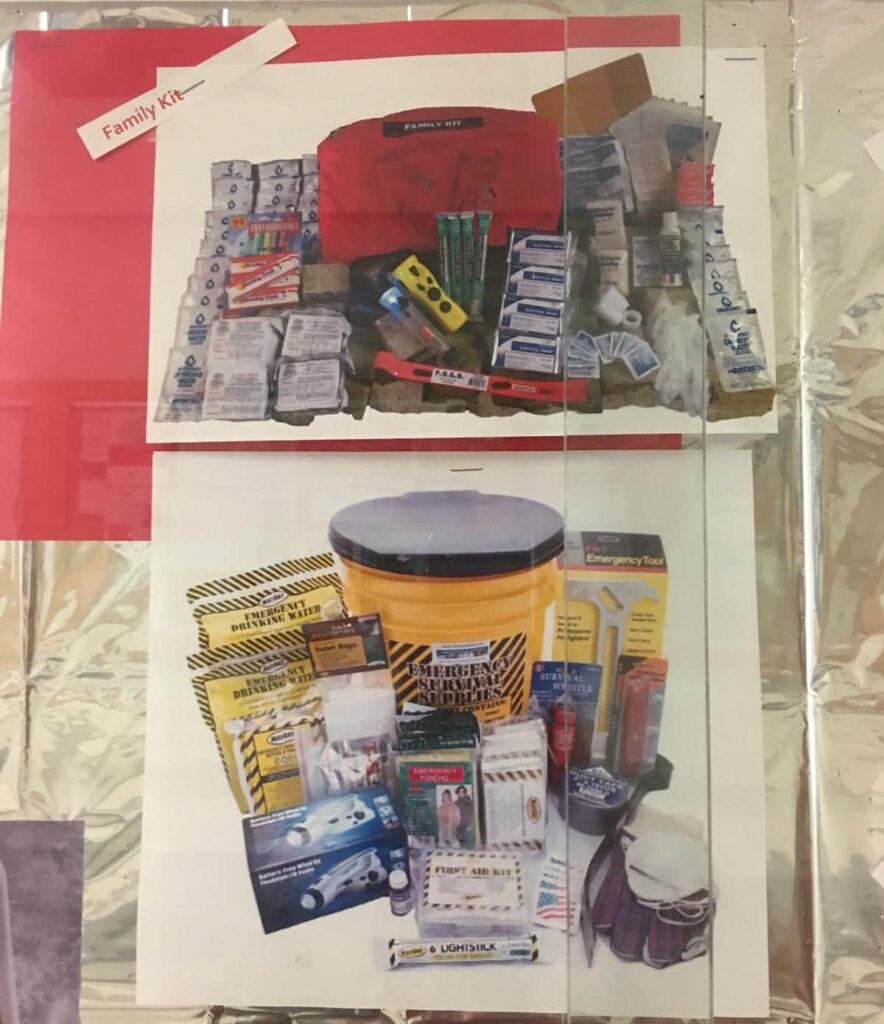
Mistake #1: Trusting a Store-Bought First Aid Kit
I’ll be honest: I used to think that cute red zippered kit from the drugstore was “good enough.” But when I actually opened it up? Mostly Band-Aids and tiny wipes — not exactly helpful in a real crisis.
What I pack instead:
- Trauma gear: a tourniquet, QuikClot gauze, and compression dressings
- A CPR shield (because I live in a city and don’t assume help will be immediate)
- My own medication and instructions are in a waterproof pouch
I keep mine in a bright orange dry bag, labelled, and near the front door for fast grabs. You can’t treat a real injury with “mom purse” supplies.
Mistake #2: Forgetting Meds You Actually Use
The first time I packed a kit, I included aspirin and allergy pills. Good start, right? Except…I have asthma, and I forgot my rescue inhaler.
What I include now:
- Painkillers (ibuprofen + acetaminophen combo)
- Antihistamines (I pack both pills and dissolvable tablets)
- Electrolytes + anti-nausea tabs for dehydration
I also pack rehydration salts in single-serve packets and rotate expired meds every 6 months (it’s on my phone calendar).
Mistake #3: Relying on Over-the-Counter Mini Kits
Those cute little plastic first aid kits from the drugstore might seem like a good start, but they’re designed for papercuts and soccer games, not grid-down emergencies.
When I first started building my kit, I made this exact mistake. I had three little kits stashed around my home, car, and backpack, and not one of them had anything beyond a few band-aids, antiseptic wipes, and a triangular bandage.
What to pack instead:
- Full-sized gauze rolls and trauma pads
- Tweezers and medical scissors (not kiddie safety ones)
- Alcohol prep pads and iodine swabs
- Tourniquet or Israeli bandage
- A real first aid manual (not just a leaflet)
💡 Tip: I keep my supplies in a soft-sided tool bag — sturdy, easy to carry, and with lots of compartments for organization.
Mistake #4: Forgetting About Pain, Inflammation, and Allergies
During an emergency, even a minor injury or allergic reaction can become a serious obstacle. For years, I thought I was covered because I had ibuprofen in my bathroom cabinet. But during a heatwave power outage, I couldn’t access half my meds without digging in four places, and realized I had no antihistamines at all.
What to pack instead:
- Pain relief: ibuprofen, acetaminophen, and/or aspirin
- Anti-inflammatories (especially useful for sprains or strains)
- Antihistamines for allergies, bites, or stings
- Anti-diarrheals (like loperamide)
- Electrolyte tabs or oral rehydration salts
💡 Optional but helpful: fever reducers, motion sickness tablets, and burn relief ointment.
Mistake #5: Not Including a Way to Stop Bleeding
This one is huge. Severe bleeding can become life-threatening within minutes, and most standard kits don’t include anything more advanced than a gauze pad.
I once did a first aid course where they made us simulate dressing a gash with only what we had on hand. I realized how underprepared I was. Blood loss is serious.
What to pack instead:
- QuikClot or other clotting gauze
- Pressure dressings
- Tourniquet (yes, it’s worth repeating)
- Large trauma pads
- Gloves and shears for cutting clothing fast
Mistake #6: Ignoring Dental and Eye Emergencies
Tooth pain and eye injuries might not sound like a priority — until you’re camping or cut off from care. I’ve had both happen on remote trips. A cracked molar once left me unable to sleep or eat properly for 3 days.
What to pack instead:
- Dental repair kit (like temporary filling material and clove oil)
- Cotton pellets, dental floss, and a mirror
- Saline wash or small eye cup
- Artificial tears or eye drops
- Protective eyewear (for dusty or smoky conditions)
What to Pack in a Well-Stocked Survival First Aid Kit
Even if you buy a pre-filled kit, you’ll almost always need to add or swap items. I’ve gone through multiple kits over the years — some were better than others — but none were fully stocked for real emergencies.
Here’s what I recommend including:
- First Aid Manual – something detailed like the Survival Medicine Handbook is worth having, even if you know basic care and survival skills.
- Wound Care: gauze, bandages (all sizes), butterfly closures, burn dressings, antiseptic wipes, and antibiotic ointment.
- Bleeding Control: trauma pads, QuikClot or equivalent, tourniquet.
- Splints & Sprains: SAM splint, elastic bandages, medical tape.
- Medications: ibuprofen, acetaminophen, antihistamines, antacids, anti-diarrheal, electrolyte packets, sting relief.
- Tools: scissors, tweezers, forceps, thermometer, flashlight/headlamp, gloves.
- Dental & Vision: temporary dental repair kit, eye wash solution.
- Comfort: foil blanket, lip balm, hand warmers, moleskine for blisters.
You can also include a few non-medical survival items if space allows: a whistle, lighter or matches, notepad and pencil, and an emergency contact card.
Keep your kit stored in a clearly marked waterproof bag or backpack. I like soft-sided zip-top bags because they’re easier to organize and carry.
Tips for Keeping Your Kit Updated
Even a perfect first aid kit can let you down if it’s out of date or incomplete. Here’s how to keep it ready:
- Check it every season: I do this quarterly, but at minimum, check expiry dates on medications and batteries twice a year.
- Replace used or expired items immediately. Keep a small bin in your home labelled “First Aid Kit Refill” so you can add to your shopping list easily.
- Tailor it by season or destination. In winter, add heat packs and cold-weather meds; in summer, pack allergy relief and bug treatment.
- Keep a separate pet first aid kit if you travel or evacuate with animals.
What to Do Next
A survival first aid kit isn’t just about stocking up — it’s about being ready. Whether you’re building one from scratch or upgrading what you already have, take 30 minutes this week to check your supplies and fill in the gaps.
🔗 Want to build confidence in your skills, too?
Check out my guide on survival skills you can learn online.
